Thursday 29 December 2016

the house has an eye

Since the previous post in September (a particularly wet month) most weekdays, when not away visiting my partner, have been spent teaching. Not that I necessarily wanted to do that much work, but with a 6 week summer break with no income I took pretty much all the casual work they offered.

Out at the land the Spring rains created havoc with the weeds. Not being there most days like last year meant the saffron thistle went berserk. So much time was spent hand weed spraying.

Also I needed to get the Spring veggies in and established. I am growing everything I grew last year and have added eggplant, squash, chili, spring onions, parsley, and Spanish onions.


Unfortunately the roof is still sitting on the ground.

But in the meantime I have put up the verandah beams (which forms part of the roof) and created the back deck:


It might seem a bit premature to be building the deck now - but soon I will be putting in the back sliding doors which will then become the main entrance while I continue to build.


Once that was done I was able to start framing inside.

School holidays began on December 16th so I have been out at the house every day since.

With all of the ceiling joists finished, I then made a start on the wall studs:


And I also made the first cut out of the exterior walls to try putting in a window. This is the 'study nook' window so it is low so I can see out of it when sitting at the desk:


 View from the window over the veggie garden towards the road:


And I love being able to use 'old' technology - this is a plumb bob and it is used to line up the top and bottom plates. Simple and effective:


I have also begun to box in the steel roof beams:


Hopefully I will get a lot more accomplished before school returns at the end of January.

Monday 19 September 2016

spring slowly forward

The glacial moving of this build continues due to a mixture of factors including teaching, long distance relationship visits, engineering holdups (yup still happening) and bad weather. And these are not the only reasons.

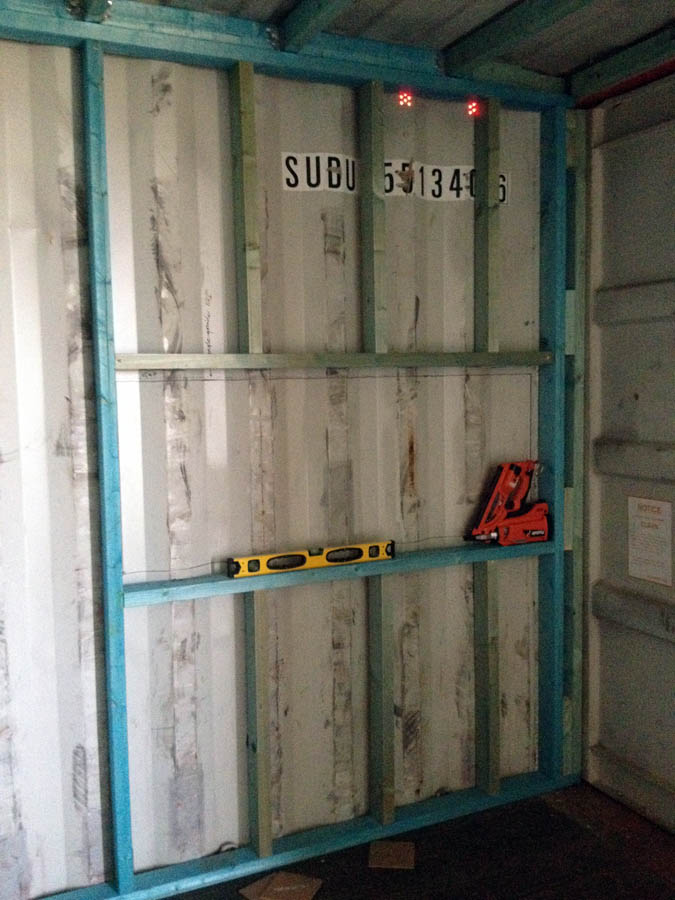
But I have made a start on the internal framing - firstly by installing the waling plates. These are the top rails that the ceiling joists are attached to.


In order to install these on my own I needed to work in 3m lengths as anything longer was to unwieldy and heavy. One hand was needed to steady the timber in the middle whilst the other used 3 different drills (first to drill a pilot hole through the wood into the steel, second was to widen the hole and the third to screw the tek screw into the steel.)

Quite a challenge. But like most repetitive tasks - it became easier the more I did.

One waling plate was 5.4m long - did this as I was being lazy and didn't want to have to move all of my tool shelves and boxes!


Then I was able to attach the ceiling joists using joist hangers. Two temporary blocks screwed to the waling plate so I had two free hands to nail made this job a lot easier.


I am still in two minds as to whether I will attach the ceiling plasterboard directly to these joists or add metal battens first to give the joists additional strength and stop any torsion occurring.

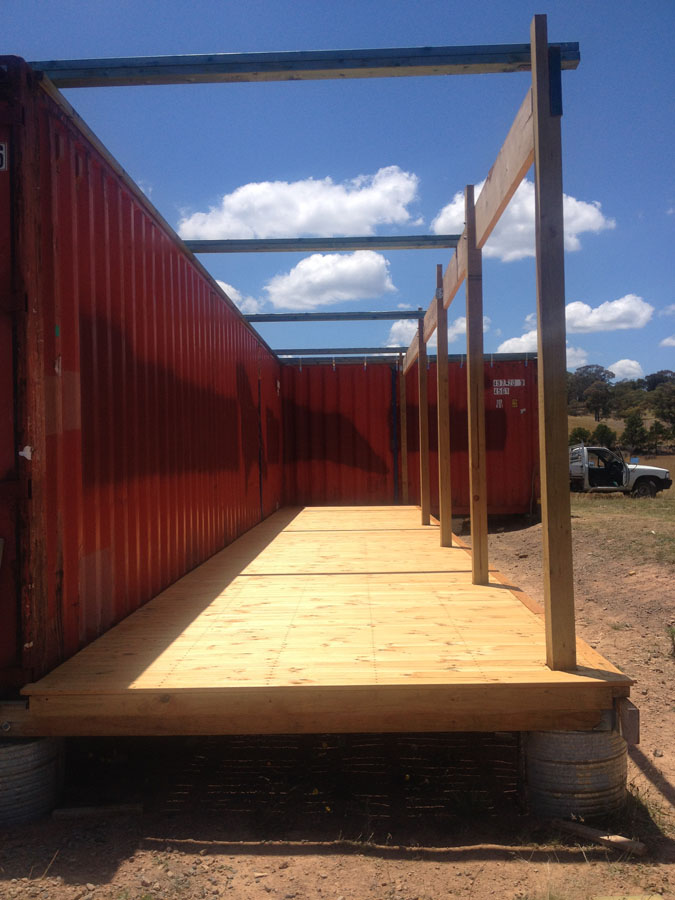
I also ordered my roof trusses so I had to prepare the roof for them

As my engineers designed my roof truss plans the truss manufacturer said they should provide me with the necessary methods of attachment for them. I need to lay down joists for the trusses to sit on.

Well it has been over a month and I haven't heard a word from my engineers over my request. They have been useless from the start and they continue in that vein. I shall be happily badmouthing them whenever and wherever possible!!

So I have been flying blind so to speak. Working on the principle that (hopefully) over engineering things myself will suffice. I will still need to organise an engineer to inspect what I do to 'sign' it off.

The first step was to line the perimeter with 45x90mm timber tek screwed into the metal of the containers. Then intermediate pieces where entire lengths were not necessary.


A second layer was glued and screwed through the first:


And temporary supports put under the cantilevered joists (where the back verandah roof trusses will sit.)


A third layer of joists was added and then I attached metal tie-downs at 600mm centres.


Current stage with tie-downs as yet unfinished:


The trusses have arrived. And they don't look like much for the price!


Now I have to sit down and study how to put them up!

In other news - the winter garden, though very modest, was successful as I had an abundance of boc choy and broccoli.


These are now finished, and the garlic and mint are starting to come good:


With Spring here I need to set aside some time to get the Summer veggies planted. This year I will see how eggplants go, and will also put in capsicum, basil, chives, rhubarb (it's still going well from last year), spinach, squash, pumpkin, strawberries, coriander, chili, and perhaps some beans.

Monday 16 May 2016

below: deck

Things continue to move along slowly. My annual trip to Queensland plus getting quite a lot of casual teaching has been the main cause of this slowness - there always seems to be excuses!

While up north friends there have been busy constructing a small container home for themselves. They used 2 x 20' containers with around a 5m or so space between them which they enclosed.
They used refrigeration containers which come with their own insulated walls.


Back at my own place I made a start on the back deck.

First I tek screwed the ledger (or back bearer) to the bottom steel "C" beam of the containers:


Then I drilled and chem-set threaded rods into the concrete piers to screw the front bearer down:


As a precaution I sprayed the joist hangers with a cold galvanising paint for extra protection:


After which I proceeded to hand nail each of the 58 hangers with 25 nails each to the joists and the bearers!


The near end needed a little specialised fixing as the container corner block was in the way. I ended with a double joist for extra strength.

The end of the final joist was fixed through the hole in the corner block using a nut and bolt with a washer larger than the hole set inside the corner block. The front bearer has been left longer until I can determine how much the external insulation and cladding will extend out from the container and another joist might still need to be added.


Finally I added the noggins which will help solidify the joists and stop them from twisting.


Next I can start laying the decking timbers and adding the verandah posts ready for the roof.

As the internal floor will be around 40 - 50mm higher than the external deck I might need to add a layer of battens on top of the deck joists before the decking timbers so there is no step down onto the deck from inside .

If I do this then I can lay the decking timbers perpendicular to the containers and not parallel which is more traditional:


After quite a successful first harvest, once the 38 pumpkins had been picked I ripped up the vines and composted and turned the soil and put a few things in for winter - bok choy, broccoli, garlic. radishes and some more spinach.

The bok choy has grown enough already that I have been picking them for my stir fry's for the past week. The capsicums and beetroots have just finished and have also gone. But the rhubarb, spinach, radishes, mint, and basil are still providing.

Bok choy (top) and young broccoli (bottom):